Spring Garden Tips: What to Do and What to Avoid
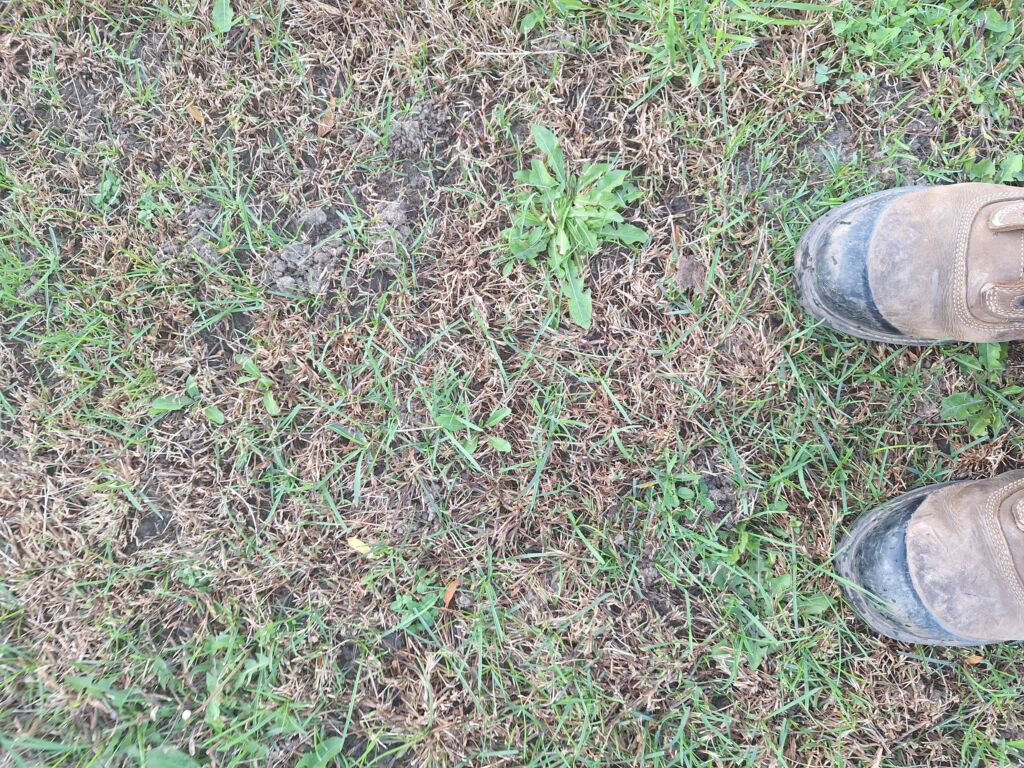
Ignore Your Lawn! It’s far too early to work on your lawn.
1. Why It’s Too Early to work on your lawn.
Working on your lawn too early in the spring can indeed be counterproductive for several reasons:
Risks of Damaging New Growth
• Tender Shoots: Early spring is when new grass shoots start to emerge. These shoots are delicate and can be easily damaged by foot traffic or aggressive raking. Damaging these new shoots can hinder the lawn’s ability to grow and fill in properly.
• Stunted Growth: If new growth is damaged, the grass may struggle to recover, leading to thin or patchy areas in your lawn. This can make it more susceptible to weeds and other issues later in the season.
Soil Compaction
• Wet Soil: In early spring, the soil is often still wet from melting snow and spring rains. Working on the lawn when the soil is wet can lead to compaction, which reduces the soil’s ability to absorb water and nutrients.
• Root Damage: Compacted soil can also damage the grass roots, making it harder for them to grow and access the nutrients they need. This can weaken the lawn and make it more vulnerable to drought and disease.
Best Practices
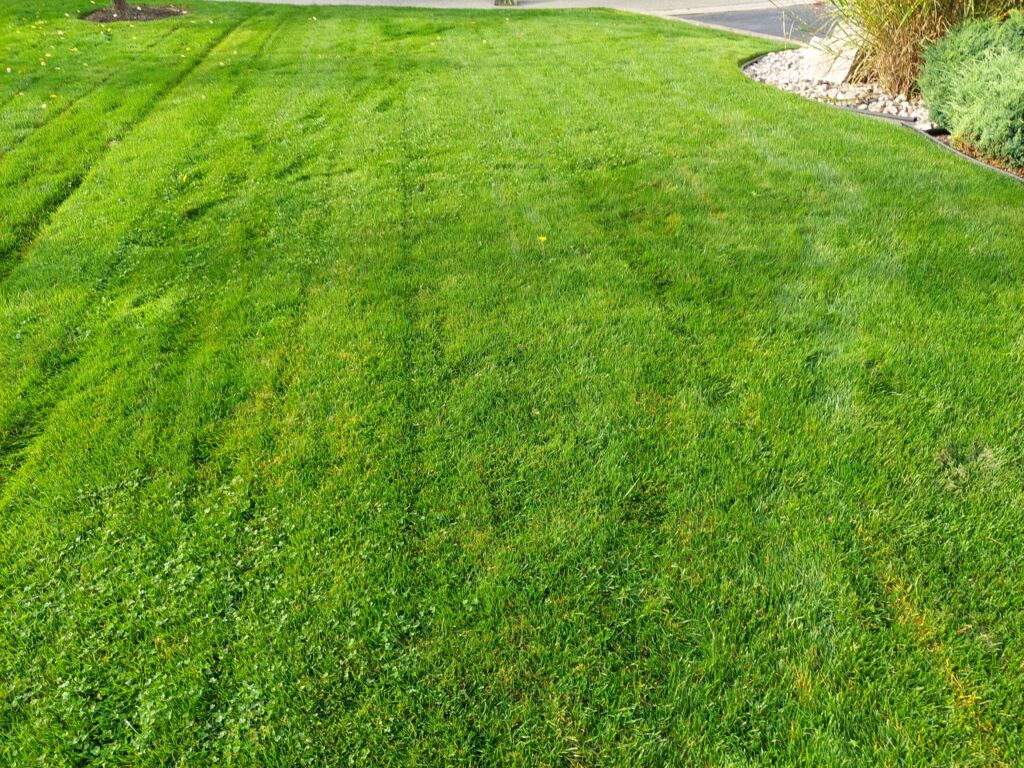
• Wait for Dry Conditions: It’s best to wait until the soil has dried out and the grass has had a chance to establish new growth and is growing vigorously before doing any major lawn work. This usually means waiting until late spring – mid May.
• Gentle Care: When you do start working on your lawn, be gentle. Use a leaf blower instead of a rake to remove debris, and avoid heavy foot traffic until the grass is well-established.
By being patient and waiting for the right conditions, you’ll give your lawn the best chance to thrive throughout the growing season. Ask us for our free guide to Luscious Lawns!
2. Leave Leaves in the Gardens
Preserving Habitat for Beneficial Insects
• Shelter for Insects: Leaves provide a natural habitat for many beneficial insects, such as ladybugs, ground beetles, and spiders. These insects play a crucial role in controlling pests and maintaining a healthy garden ecosystem.
• Overwintering Sites: Many insects use leaf litter as a place to overwinter. By leaving leaves in garden beds, you help ensure these beneficial insects survive the winter and are ready to help your garden in the spring.
Retaining Moisture
• Natural Mulch: Leaves act as a natural mulch, helping to retain moisture in the soil. This reduces the need for frequent watering and helps plants stay hydrated during dry periods.
• Soil Health: As leaves decompose, they add organic matter to the soil, improving its structure and fertility. This enhances the soil’s ability to retain moisture and nutrients, benefiting plant growth.
Additional Benefits
• Weed Suppression: A layer of leaves can help suppress weeds by blocking sunlight and preventing weed seeds from germinating.
• Temperature Regulation: Leaves can help regulate soil temperature, keeping it warmer in the winter and cooler in the summer. This creates a more stable environment for plant roots.
Mulching Over Leaves
• Enhanced Benefits: Mulching over leaves can further enhance their benefits. Mulch helps keep leaves in place, prevents them from blowing away, and speeds up decomposition.
• Aesthetic Appeal: Mulching over leaves can also improve the appearance of garden beds, giving them a neat and tidy look while still providing all the ecological benefits.
By leaving leaves in garden beds or mulching over them, you create a healthier, more sustainable garden environment that supports beneficial insects and conserves water.
3. Pruning Tips for Summer and Fall Bloomers
Pruning plants that bloom in summer or fall, such as roses, spiraea, and rose-of-sharon, is essential for maintaining their health and encouraging abundant blooms. Here are some guidelines to help you prune effectively without damaging the plants:
Timing
• Best Time to Prune: Prune these plants in early spring before new growth begins. This timing allows you to remove old wood and shape the plant without interfering with the upcoming bloom cycle.
Tools
• Sharp Pruning Shears: Use sharp, clean pruning shears to make clean cuts. This reduces the risk of disease and ensures the plant heals quickly.
• Loppers: For thicker branches, use loppers to make precise cuts.
Technique
• Remove Dead or Damaged Wood: Start by removing any dead, damaged, or diseased wood. Cut back to healthy tissue to prevent the spread of disease.
• Thin Out Crowded Branches: Thin out crowded branches to improve air circulation and light penetration. This helps prevent fungal diseases and promotes healthy growth.
• Shape the Plant: Shape the plant by cutting back overgrown branches. Aim to create a balanced, open structure that allows light to reach all parts of the plant.
Specific Plant Tips
• Roses: Prune roses by cutting back to an outward-facing bud. This encourages outward growth and prevents the plant from becoming too dense.
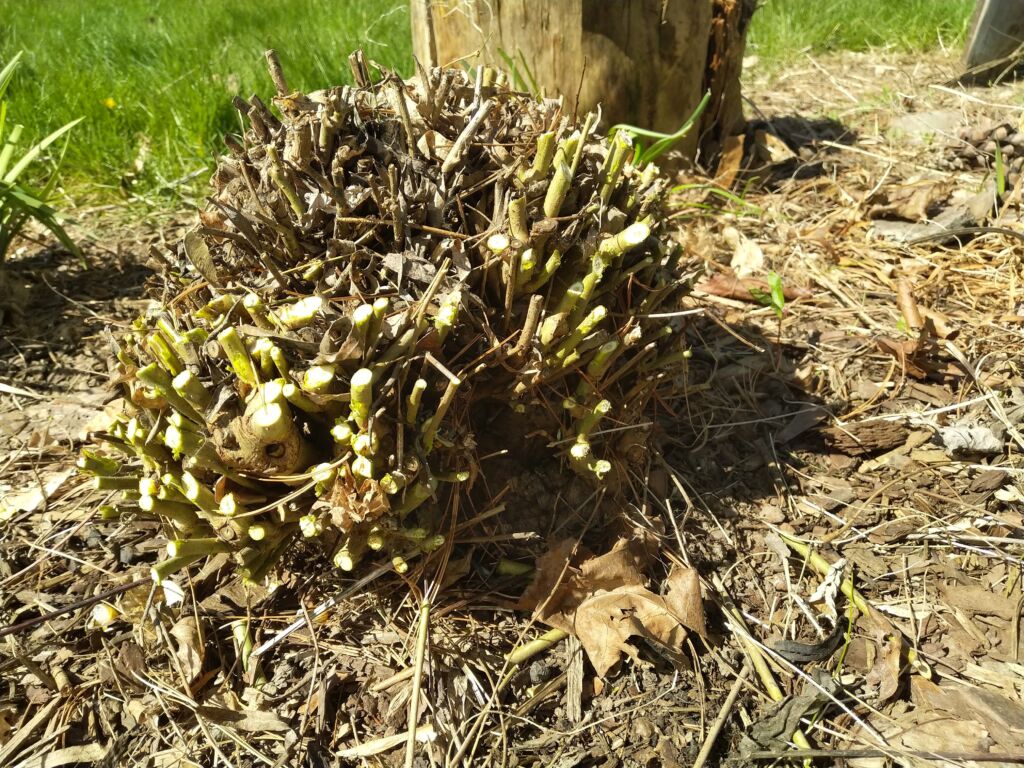
• Spiraea: Prune spiraea by cutting back the oldest stems almost to the ground. This rejuvenates the plant and encourages new growth. This is a technique called coppicing.
• Rose-of-Sharon: Prune rose-of-sharon by removing any weak or crossing branches. Cut back the main stems to shape the plant and encourage bushier growth. Avoid cutting back too much, as this can reduce blooming.
Aftercare
• Clean Up: Remove all pruned material from the garden to prevent disease and pests.
By following these guidelines, you’ll help your summer and fall bloomers thrive and produce beautiful flowers throughout the season.
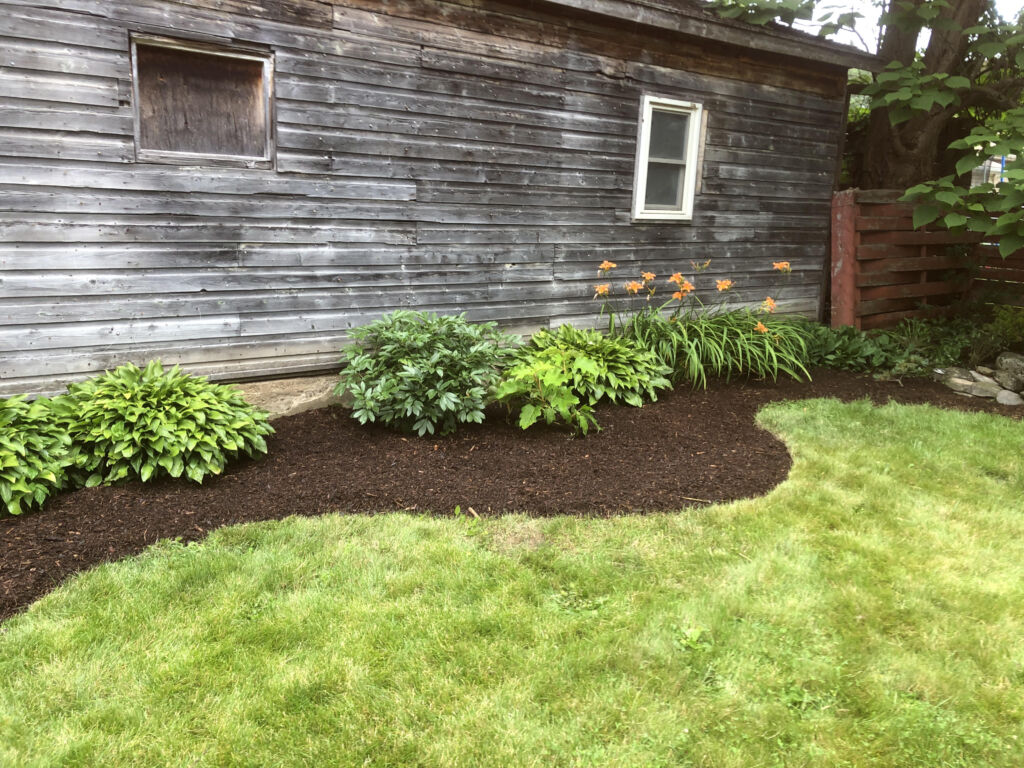
4. Edge and Mulch Beds
Maintaining garden beds through proper edging and mulching is essential for keeping them neat, healthy, and visually appealing. Here’s why these practices are important and how to do them effectively:
Importance of Edging
• Neat Appearance: Edging creates a clean, defined boundary between your lawn and garden beds, giving your garden a polished look.
• Weed Control: A well-defined edge helps prevent grass and weeds from encroaching into your garden beds, reducing competition for nutrients and water.
• Root Barrier: Edging acts as a physical barrier that keeps invasive plant roots from spreading into unwanted areas.
How to Edge Your Garden Beds
1. Choose Your Tool: Use a half-moon edger, spade, or a mechanical edger to create clean lines.
2. Mark the Edge: Use a garden hose or string to outline the desired shape of your garden bed.
3. Cut the Edge: Insert the edger into the soil along the marked line, cutting down about 4-6 inches deep. Remove the soil to create a trench.
4. Maintain the Edge: Regularly trim the edge to keep it sharp and prevent grass from growing over.
Importance of Mulching
• Moisture Retention: Mulch helps retain soil moisture by reducing evaporation, which is especially beneficial during dry periods.
• Temperature Regulation: Mulch insulates the soil, keeping it cooler in the summer and warmer in the winter, creating a stable environment for plant roots.
• Weed Suppression: A layer of mulch blocks sunlight, preventing weed seeds from germinating and reducing the need for weeding.
• Soil Health: As mulch decomposes, it adds organic matter to the soil, improving its structure and fertility as well as stimulating micro-organism growth.
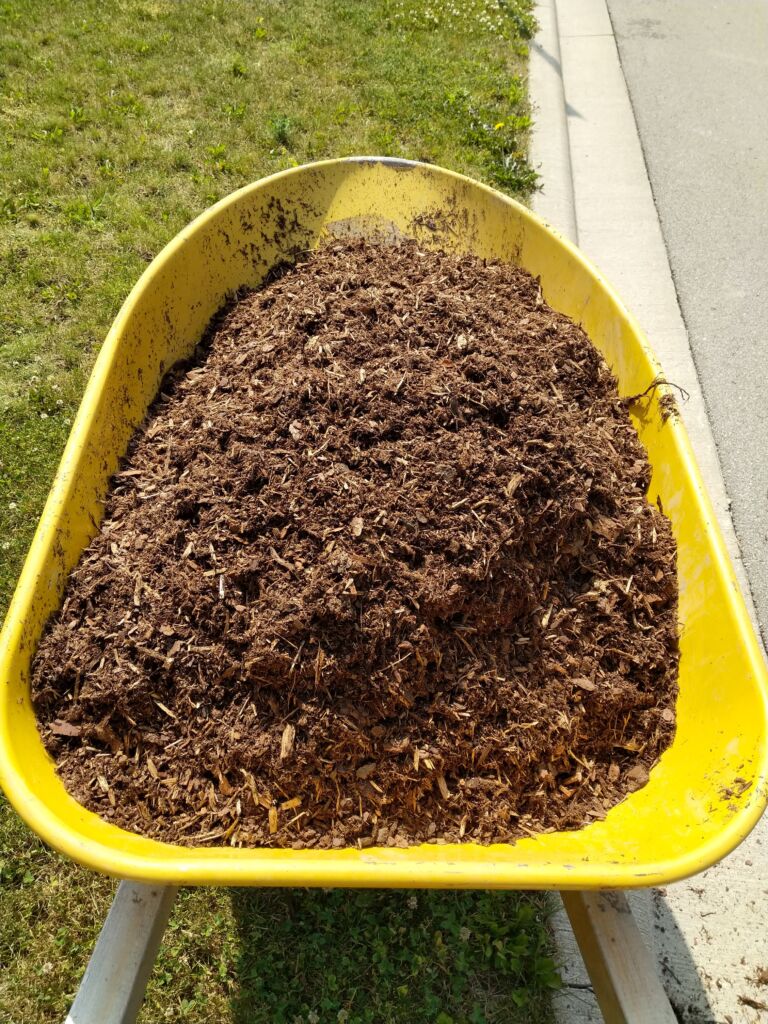
Choosing the Right Mulch
• Organic Mulch: Options like shredded bark, wood chips, straw, and compost are great for adding nutrients to the soil as they decompose.
• Inorganic Mulch: Materials like gravel, stones, and landscape fabric are long-lasting and good for areas where you don’t want to add organic matter.
How to Apply Mulch
1. Prepare the Bed: Remove any weeds and debris from the garden bed.
2. Apply a Layer: Spread a 2-4 inch layer of mulch evenly over the soil, keeping it a few inches away from the base of plants to prevent rot.
3. Replenish as Needed: Organic mulch will break down over time, so add more as needed to maintain the desired depth.
By edging and mulching your garden beds, you’ll create a healthier, more attractive garden that requires less maintenance and provides a better environment for your plants to thrive.
5. Plan New Garden Beds
Garden Planning
Spring is the perfect time to plan new garden beds. Here are some tips to help you select the right location, choose plants, and design the layout for a beautiful and functional garden:
Designing the Layout
• Layering: Arrange plants in layers based on their height, with taller plants at the back and shorter ones at the front. This creates a visually appealing and accessible garden.
• Color Scheme: Plan a color scheme that complements your overall garden design. Consider the colors of flowers, foliage, and even garden accessories.
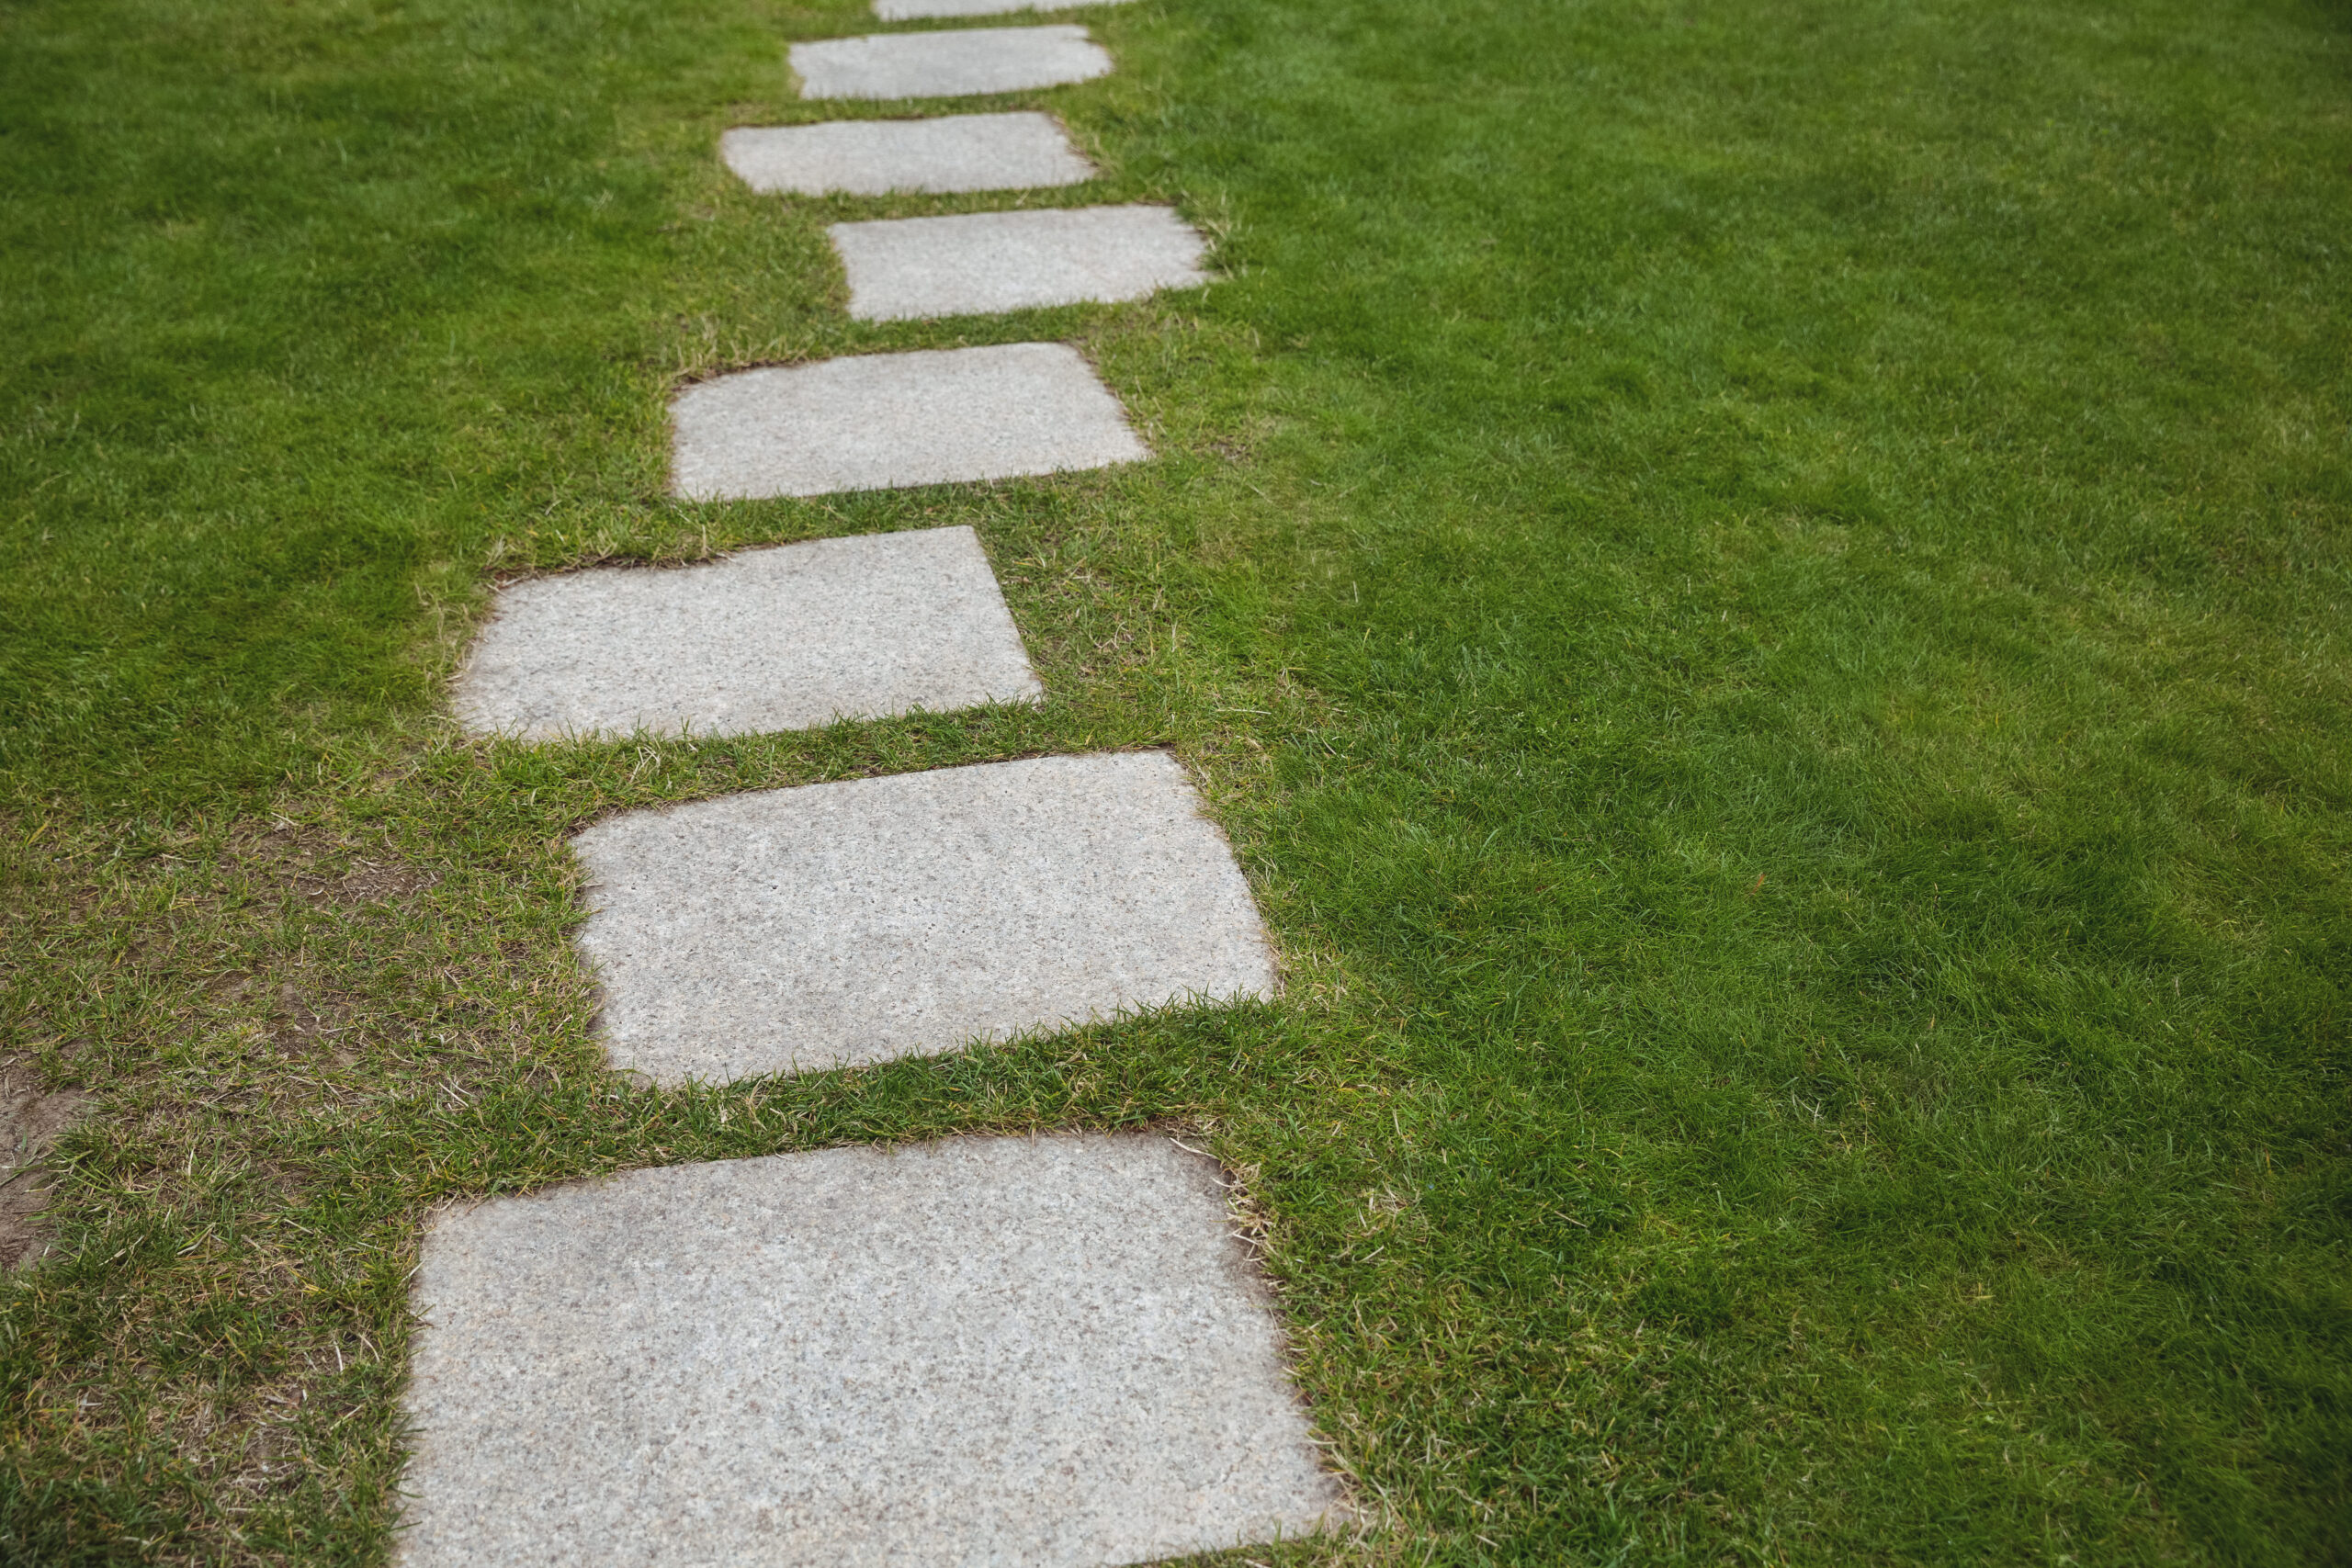
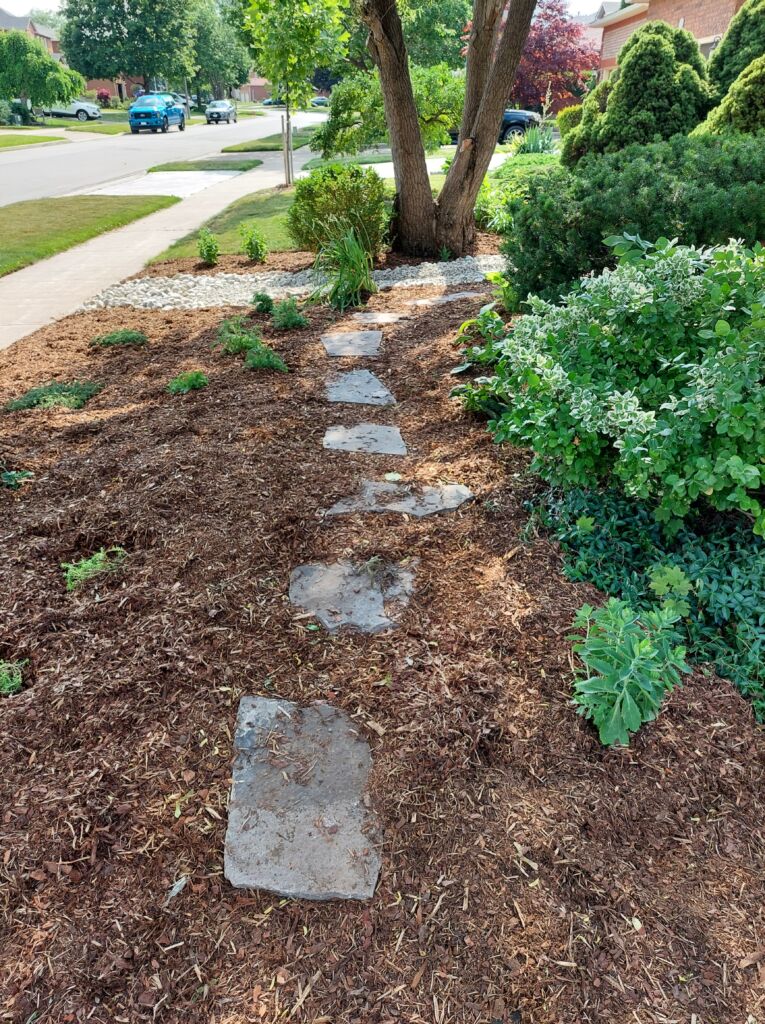
• Paths and Borders: Include paths and borders in your design to make the garden easy to navigate and maintain. Use materials like stone, wood, or mulch to define these areas.
• Focal Points: Add focal points such as garden sculptures, birdbaths, or benches to create interest and draw the eye.
Additional Tips
• Sketch Your Plan: Draw a rough sketch of your garden bed layout to visualize the placement of plants and other elements.
• Start Small: If you’re new to gardening, start with a small bed and expand as you gain experience.
• Consider Maintenance: Choose plants that match your level of gardening commitment. Low-maintenance plants are ideal for busy gardeners.
By taking the time to plan your garden beds thoughtfully, you’ll create a beautiful and thriving garden that brings joy throughout the seasons.
7. Replace Dead Plants
Selecting New Plants
• Assess the Area: Before choosing new plants, assess the area where the dead plants were. Consider factors like sunlight, soil type, and drainage to ensure you select plants that will thrive in those conditions.
• Consider Plant Needs: Select plants based on their water, light, and soil requirements. Make sure they match the conditions of your garden.
• Diversity: Choose a variety of plants to create a diverse and resilient garden. This can help prevent pest and disease problems and provide year-round interest.
Ensuring New Plants Thrive
• Prepare the Soil: Before planting, prepare the soil by removing any remaining roots or debris from the dead plants. Amend the soil with compost or other organic matter to improve its fertility and structure.
• Proper Planting: Plant new plants at the correct depth, ensuring the root ball is level with the soil surface. Water them thoroughly after planting to help them establish.
• Mulching: Apply a layer of mulch around the base of the new plants to retain moisture, suppress weeds, and regulate soil temperature.
• Watering: Water new plants regularly, especially during the first few weeks after planting. Ensure they receive enough water to establish strong roots.
• Monitoring: Keep an eye on the new plants for signs of stress or disease. Address any issues promptly to ensure they remain healthy.
By carefully selecting and nurturing new plants, you’ll refresh your garden and create a thriving, beautiful space.
7. Remove Burlap from Protected Plants
As the weather warms up in spring, it’s important to remove burlap or other protective coverings from plants to allow them to thrive.
Why Remove Burlap?
• Prevent Overheating: Burlap can trap heat as temperatures rise, potentially causing stress or damage to the plants.
• Allow Growth: Removing protective coverings allows plants to access sunlight, air, and water, which are essential for healthy growth.
• Avoid Moisture Build-Up: Burlap can retain moisture, leading to mold or rot if left on too long.
How to Remove Burlap Carefully
1. Check the Weather: Ensure that the risk of frost has passed and temperatures are consistently warm enough for the plants to be uncovered.
2. Inspect the Plants: Before removing the burlap, inspect the plants for any signs of damage or disease. Address any issues before unwrapping.
3. Gently Unwrap: Carefully untie or cut any strings or ties holding the burlap in place. Avoid pulling or tugging, which can damage the plant.
4. Remove Gradually: If the plants have been covered for a long time, consider removing the burlap gradually over a few days to allow them to acclimate to the changing conditions.
5. Monitor the Plants: After removing the burlap, monitor the plants for any signs of stress or damage. Provide extra care, such as watering and mulching, to help them recover.
Additional Tips
• Store Burlap Properly: Clean and store the burlap for future use. Ensure it is dry and free from mold or pests before storing.
• Protective Measures: If there is a sudden drop in temperature after removing the burlap, consider using temporary covers like frost blankets to protect the plants.
By following these steps, you’ll help your plants transition smoothly from winter protection to spring growth, ensuring they remain healthy and vibrant.
Patience and Planning for a Successful Garden
Creating a beautiful, thriving garden is a journey that requires patience and careful planning. As you embark on this gardening adventure, remember that each step you take contributes to the overall health and beauty of your garden.
Reminders
• Patience: Gardening is a process that unfolds over time. Be patient with your plants and give them the care they need to grow and flourish.
• Careful Planning: Thoughtful planning ensures that your garden is well-organized and suited to your specific conditions. Take the time to plan your garden beds, select the right plants, and prepare the soil.
Enjoy the Process
• Celebrate Small Wins: Enjoy the small victories along the way, whether it’s the first bloom of the season or the successful establishment of a new plant.
• Learn and Adapt: Gardening is a continuous learning experience. Embrace the challenges and learn from them to become a better gardener.
• Connect with Nature: Take pleasure in the time spent outdoors, connecting with nature and observing the changes in your garden.
By being patient and planning carefully, you’ll create a garden that brings joy and beauty throughout the seasons. Enjoy the process and look forward to the rewards of your hard work—a thriving, vibrant garden that you can be proud of.
Happy gardening!
Let us know if you have any questions – info@verdantlandscaping.ca