Ontario winters often bring deep ground frost, which can crack PVC or polyethylene pipes if water is left inside. Even small amounts of residual water can expand and cause damage to sprinkler heads, valves, and fittings.

To properly winterize an irrigation system in Ontario, where freezing temperatures are common, the blowout method using compressed air is widely considered the most effective and reliable approach.
Here’s a step-by-step guide tailored for our climate:
Best Method: Compressed Air Blowout
Step-by-Step Winterization Process
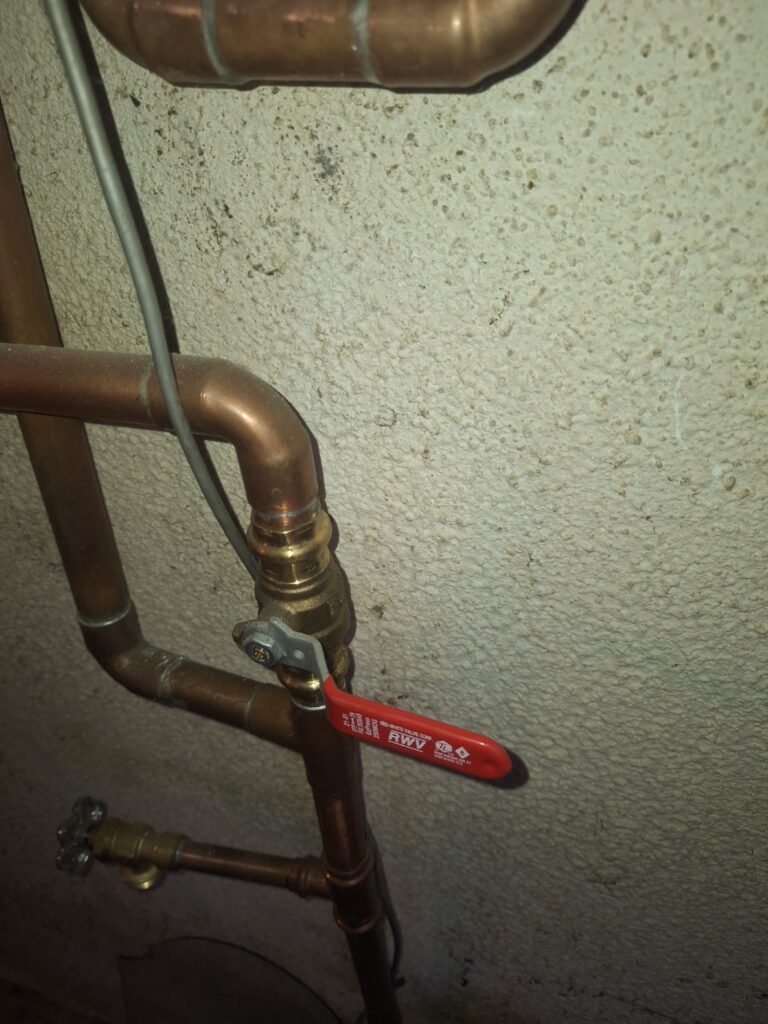
1. Shut Off the Water Supply
- Turn off the main irrigation water valve, usually located in your basement or utility room.
- Also shut down the irrigation controller (Turn OFF) or timer to prevent accidental activation.

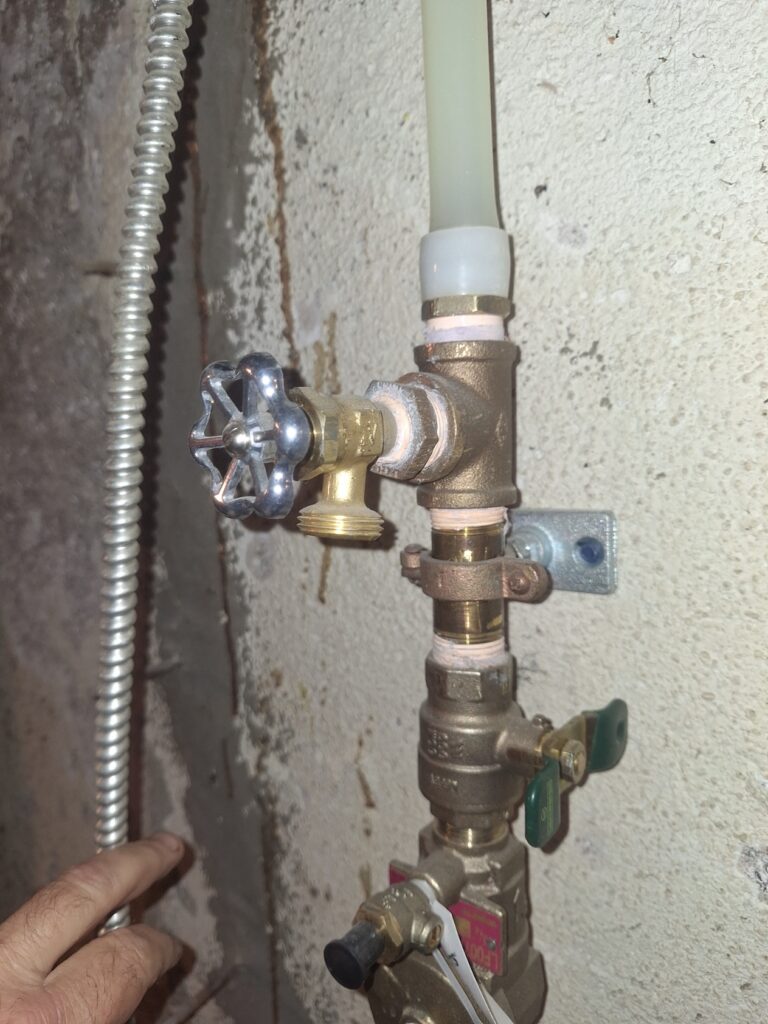
2. Drain the System
- Open manual drain valves if your system has them. This is usually located in the basement. Remember to lace a bucket under the drain!
3. Blow Out the Lines
- Connect a high-CFM air compressor (minimum 60 PSI at 15 CFM recommended) to the irrigation system via a hose bib or blowout port.
- Blow out each zone one at a time, starting with the farthest zone and working toward the closest.
- Continue until only mist (not water) exits the sprinkler heads.
One common mistake we see is using air compressors that exceed 60 PSI and deliver more than 15 CFM (cubic feet per minute) during the blowout process. While it might seem like more pressure and airflow would do a better job, it can actually harm your system.
Why it matters:
Excessive air pressure and flow can damage pop-up spray heads and rotors, which aren’t built to handle high-velocity air. These components can crack, misalign, or fail entirely—leading to expensive repairs when you turn the system back on in the spring.
Unfortunately, many winterizations are still being performed with compressors that push well beyond the recommended 15 CFM. This often results in hidden damage that only becomes apparent when the system is reactivated.
What you can do:
-
- Hire a professional who understands the correct specifications for residential irrigation systems.
- If you’re doing it yourself, make sure your compressor is set to no more than 60 PSI and delivers 15 CFM or less.
- Don’t rush the process—proper technique is more important than speed.
4. Inspect and Protect Components
- Check for leaks, cracks, or worn parts.
- Remove and store backflow preventers, filters, and timers if possible.
- Insulate exposed pipes and valves with foam or insulation tape.
5. Final Checks
- Ensure all zones are dry.
- Leave drain valves open if applicable.
- Tag or label shut-off valves for easy spring startup.
Professional Help
If you’re unsure or lack the right equipment, hiring a professional company – such as Verdant Landscape and Design Inc. (we have a Certified Irrigation Technician on staff) for a blowout is highly recommended. We offer fall packages and guarantee proper winterization.