From Vision to Reality: Our Garden Design Process
Imagine stepping into your yard and feeling like you’ve entered your own private oasis—a space that reflects your personality, suits your lifestyle, and brings you joy every day. That’s what great garden design is all about, and it starts with a simple conversation.
At Verdant Landscape and Design, we believe every beautiful garden begins with understanding the people who will enjoy it. Here’s how we make that happen:
Step 1: Free Initial Consultation
Your journey starts with a complimentary visit to your property. This isn’t just a quick look around—it’s a chance for us to listen and learn. We’ll talk about your vision, your favorite plants, how you use your outdoor space, and even the things you don’t want.
Why this matters: A garden should fit your lifestyle, whether that means low-maintenance greenery, vibrant seasonal color, or a space for entertaining friends.
Step 2: First Concept Design
Once we understand your priorities—your must-haves, nice-to-haves, and the “no-go” list—we create an initial concept. This step involves a small design fee, which covers the time and expertise needed to develop a thoughtful starting point for your project.
Why this matters: A concept design gives you a clear picture of what’s possible before committing to a full plan.
Step 3: Refining the Plan
With your feedback on the concept, we move forward to refine and finalize the design. This is where your ideas and our expertise come together to create a detailed plan that reflects your personality and enhances your outdoor living experience.
Why this matters: Collaboration ensures the final design is exactly what you envisioned—beautiful, functional, and uniquely yours.
Why Choose Us?
- Personalized Approach: Every design is tailored to your needs and style.
- Expert Guidance: We bring years of horticultural knowledge and creative design skills.
- Stress-Free Process: From consultation to completion, we make it easy and enjoyable.
Garden Renovation Done Right: Safety First and Preserving What Matters
Transforming an outdoor space is exciting—but it’s also a process that requires planning, care, and respect for what’s already there. At Verdant Landscape and Design Inc., we believe that every garden renovation should start with two priorities: safety and preservation.
Step 1: Protecting the Features You Love
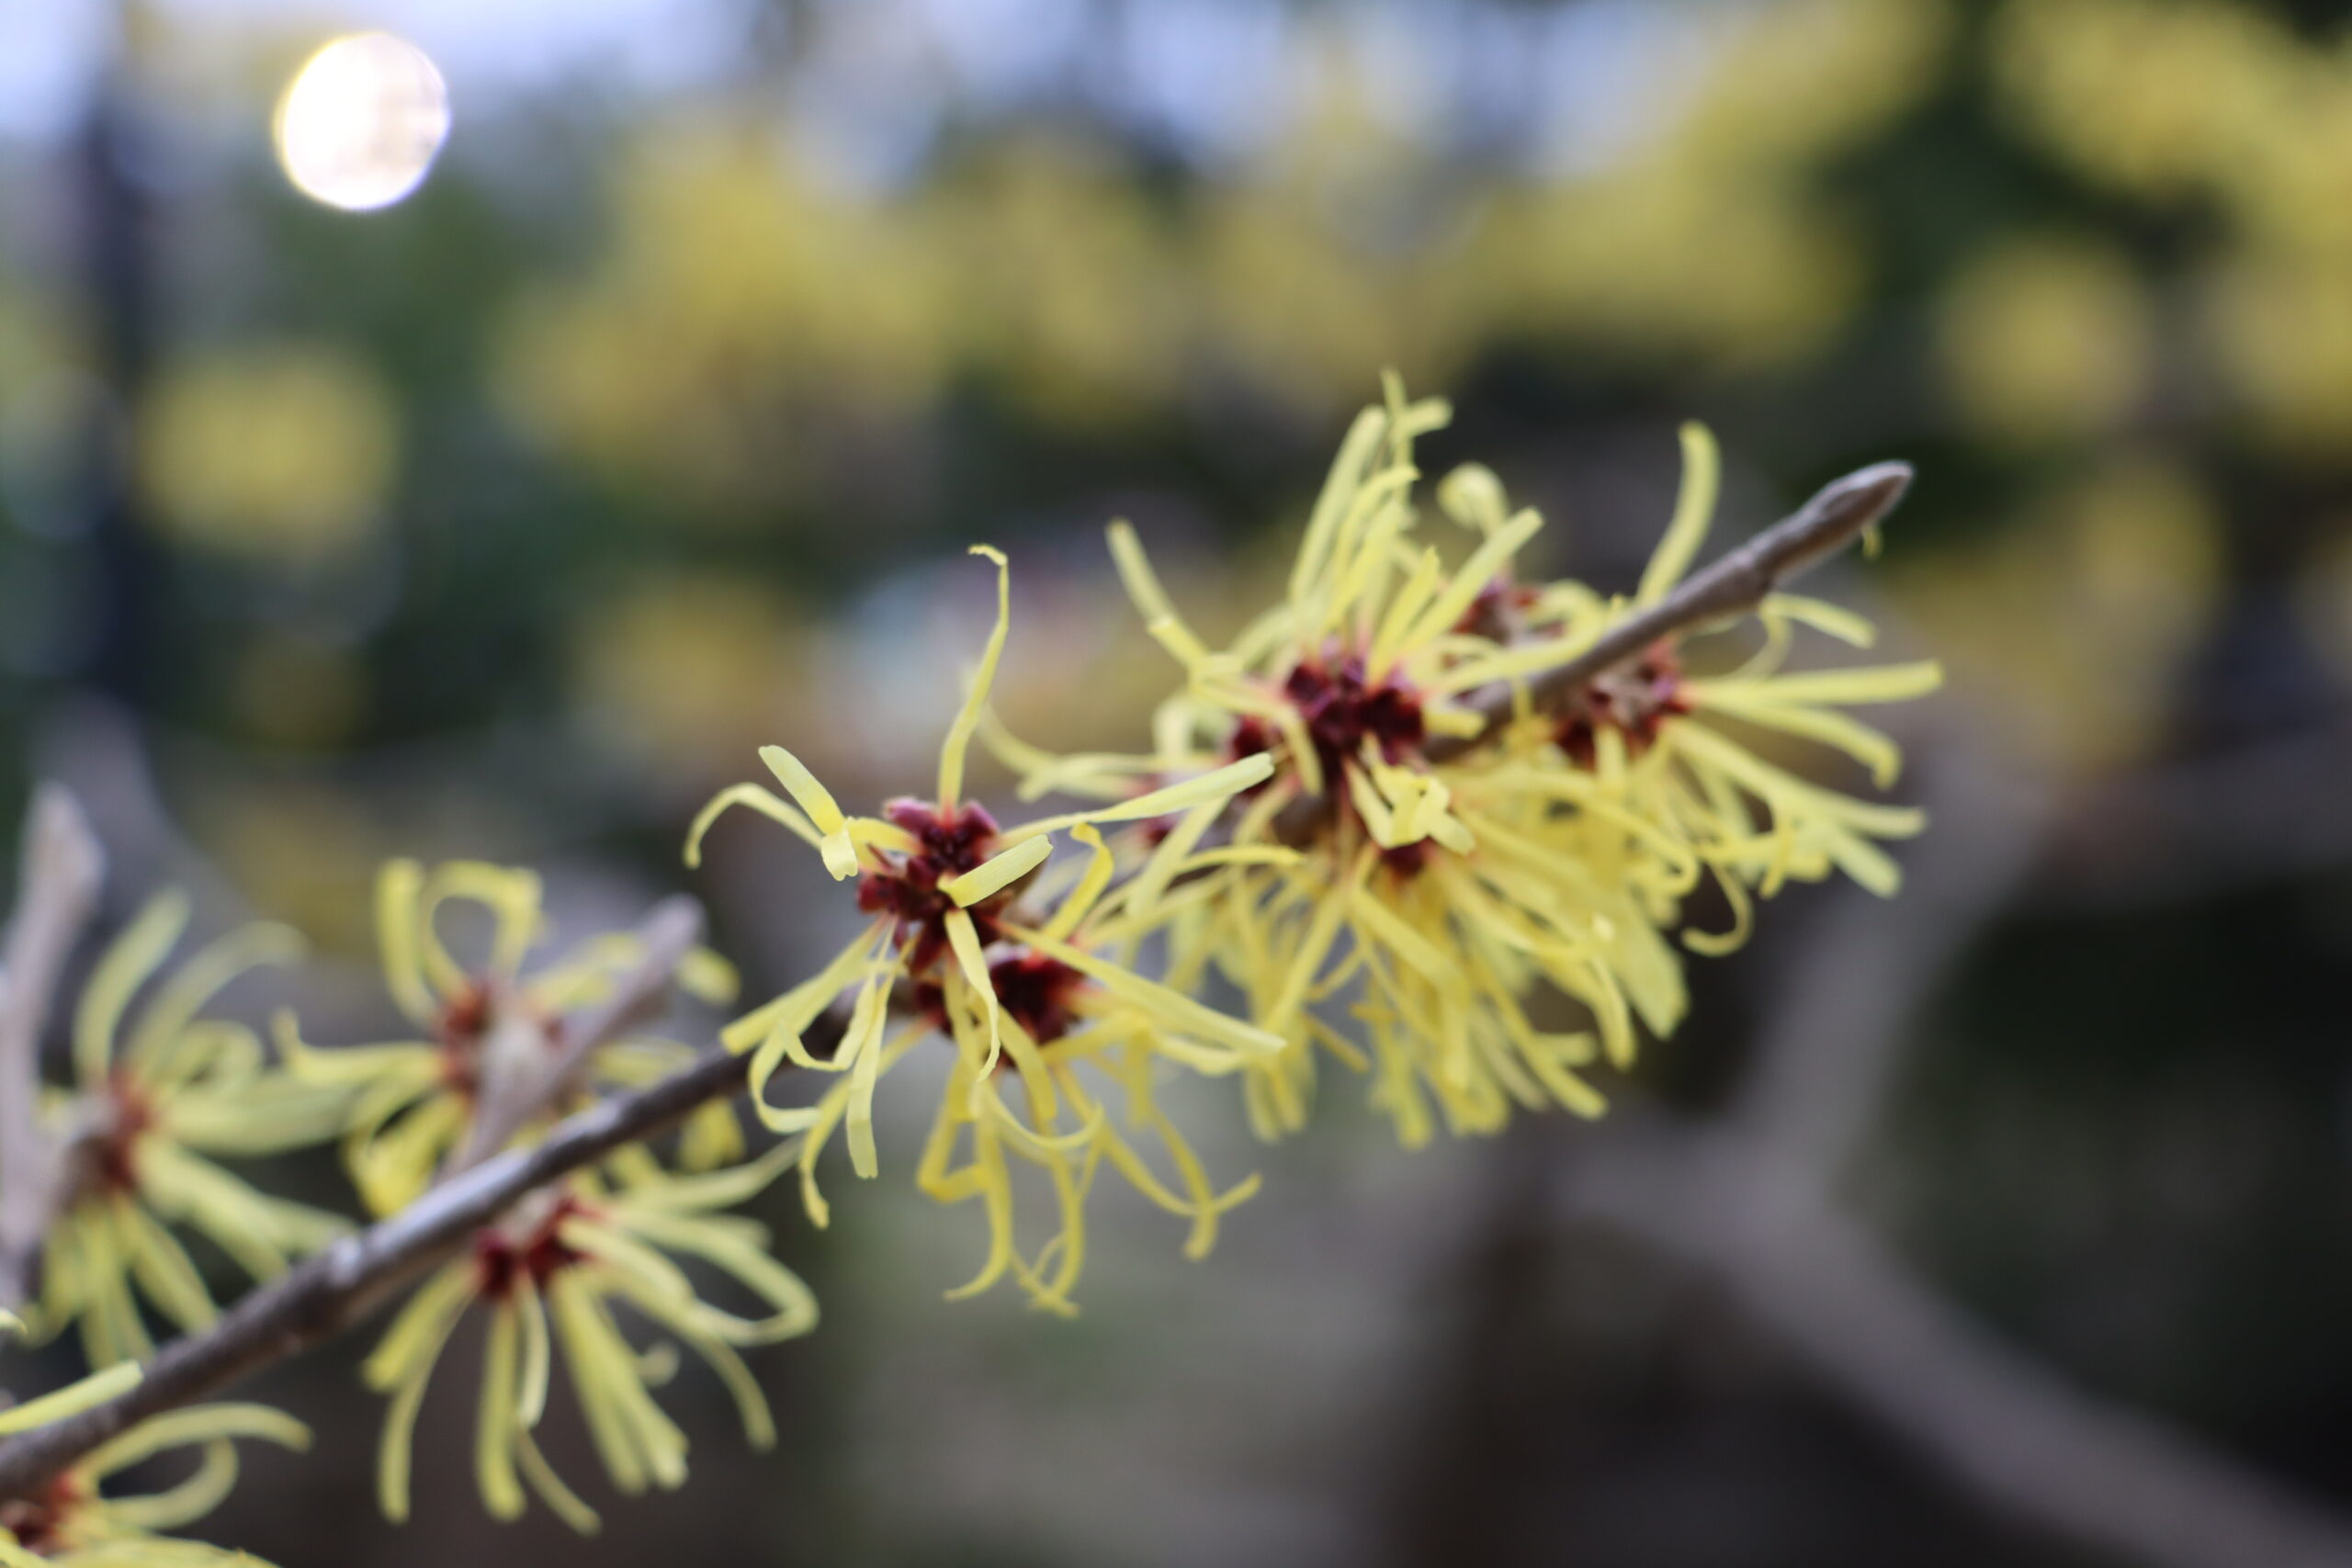
Every garden tells a story, and often there are elements worth keeping. In this project, one of the highlights was a beautiful Magnolia x soulangeana – Saucer Magnolia tree—a feature that adds elegance and seasonal charm. Instead of clearing everything, we worked carefully to remove old gardens and plants while preserving the trees and structures that make the space unique.
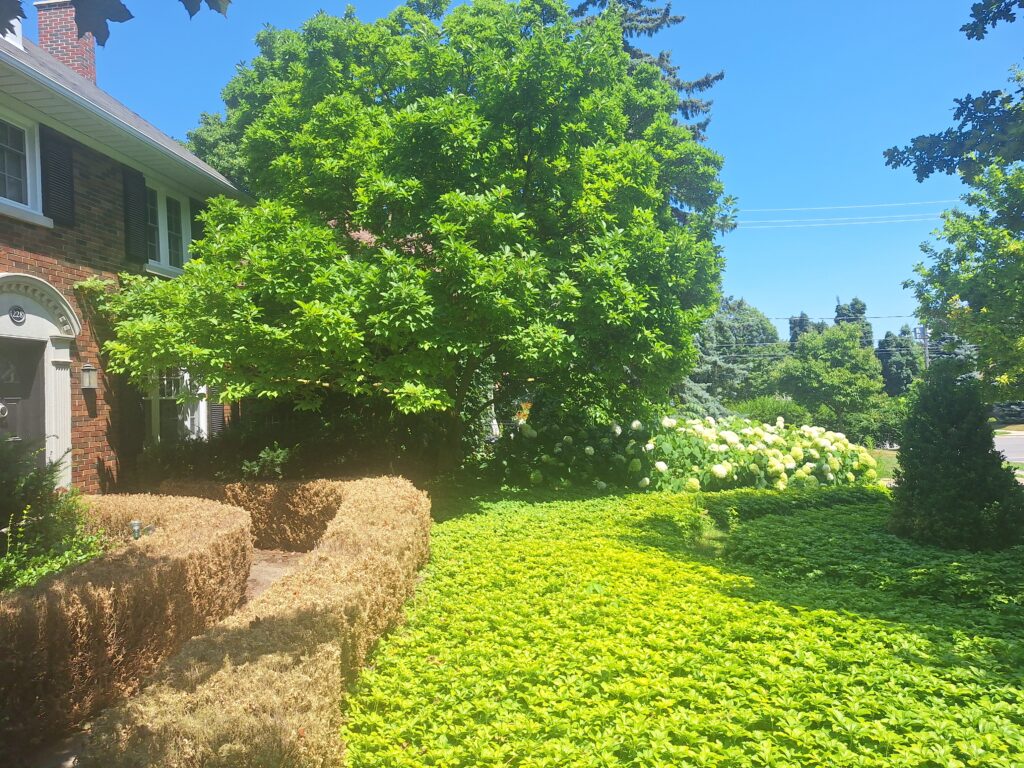
Why this matters: Preserving mature trees and cherished plants not only saves time and money but also gives your new garden instant character.
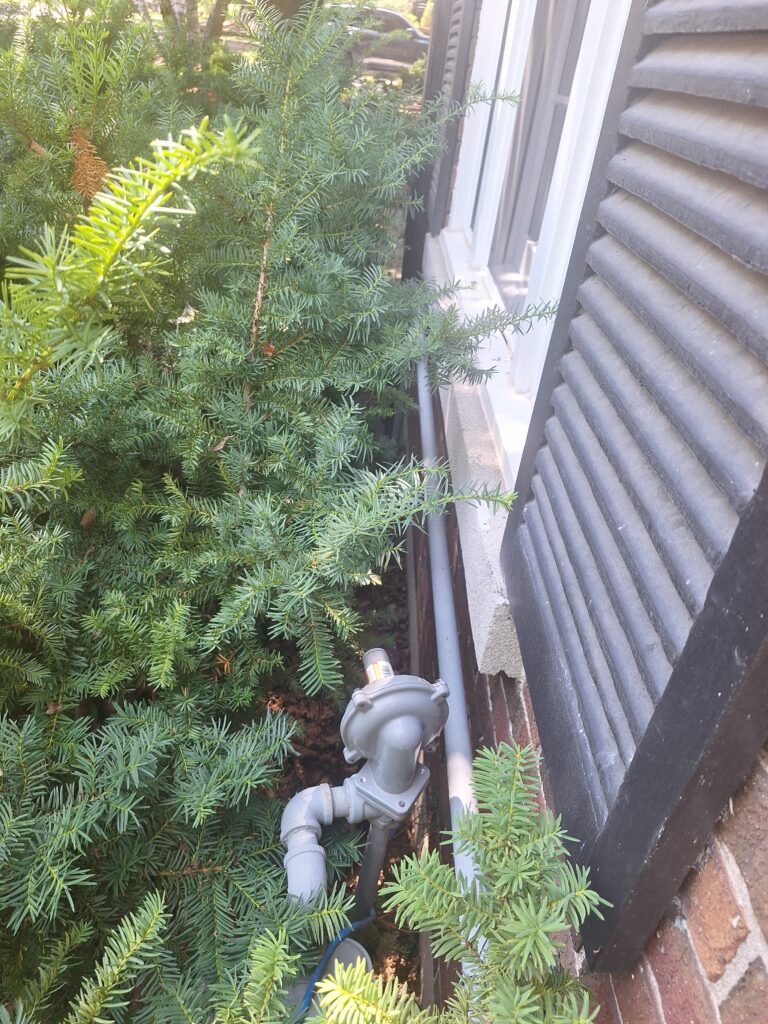
Step 2: Safety First with Ontario One Call
Before any digging begins, we take safety seriously. That’s why we contacted Ontario One Call to arrange for utility locates. This step ensures we know exactly where underground lines and services are before breaking ground.

Why this matters:
- Prevents damage to gas, water, and electrical lines
- Protects your property and our team
- Keeps your project on schedule without costly surprises
Tip: If you’re planning any garden or landscaping work, always call Ontario One Call first. It’s free, and it’s the law in Ontario.
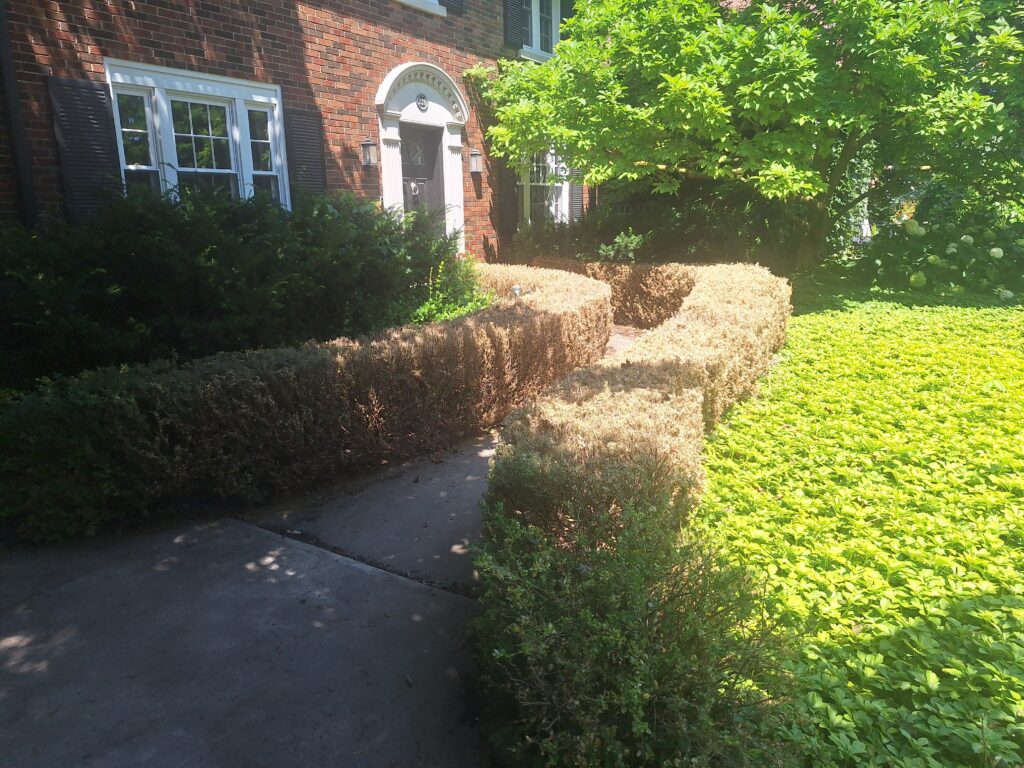
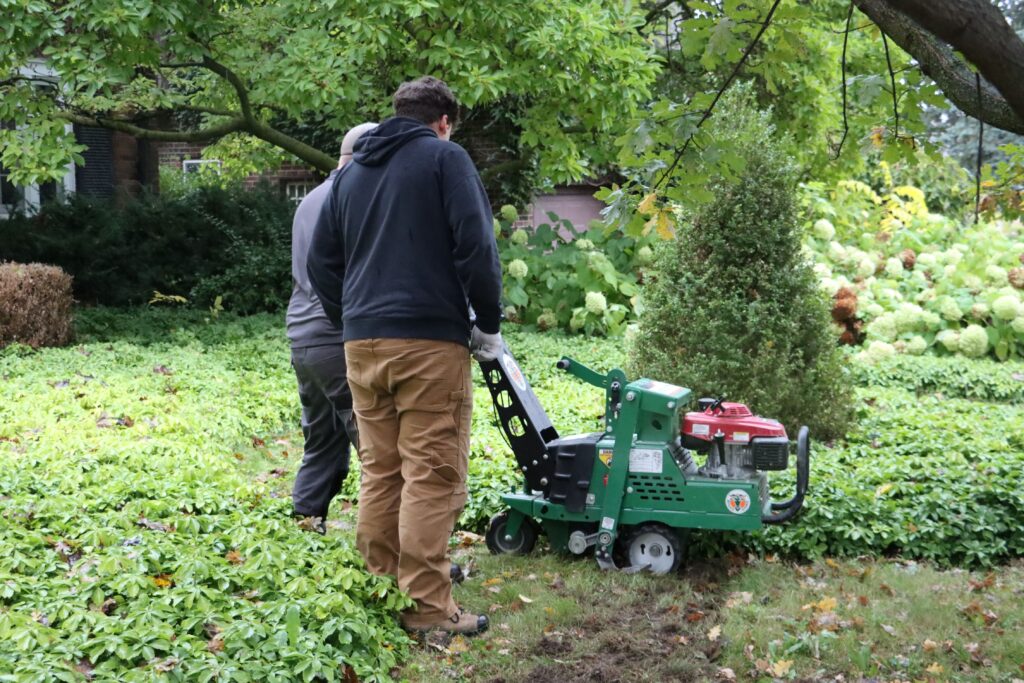
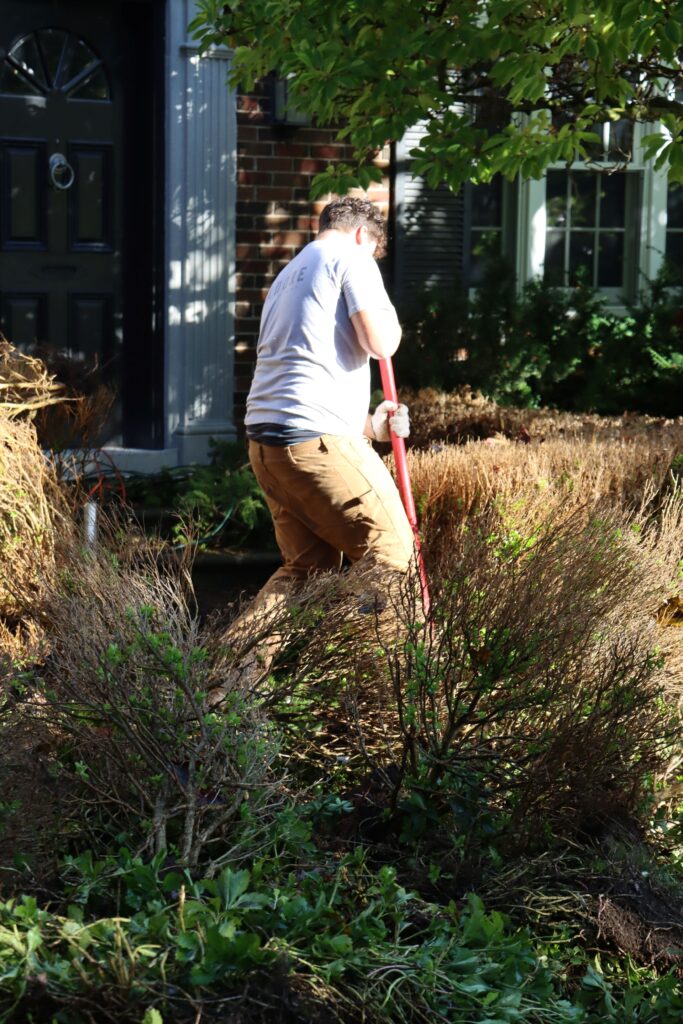
Step 3: Preparing the Canvas
Once locates were completed and the preservation plan was in place, we carefully removed old plantings and prepared the site for its new design. This stage sets the foundation for everything that follows—creating a clean, safe, and ready-to-transform space.
Why Our Process Works
- Safety First: No shortcuts when it comes to underground utilities.
- Respect for Nature: We keep what’s beautiful and valuable.
- Professional Planning: Every step is designed for efficiency and care.
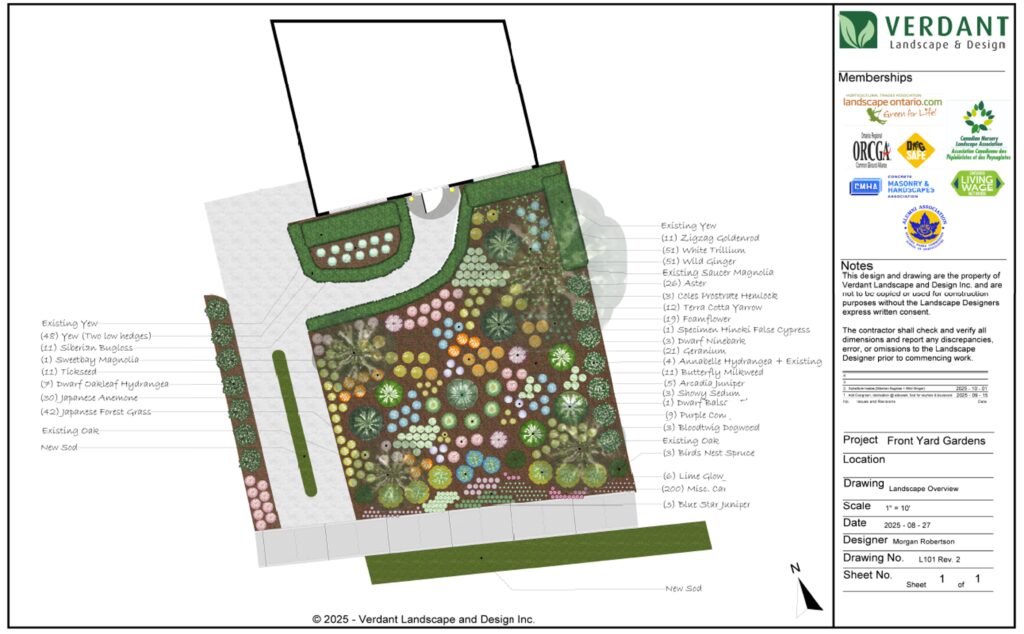
Planting for Beauty and Longevity: How We Position Anchor Plants
When it comes to creating a stunning garden, anchor plants are the stars of the show. These larger, feature plants set the tone for the entire design, providing structure, height, and year-round interest. In this project, one of our key anchor plants was the elegant Magnolia virginiana ‘Moonglow’—Moonglow Sweet Bay Magnolia, a tree known for its fragrant blooms and graceful form.
Step 1: Laying Out the Anchor Plants
Before we plant a single shrub or perennial, we carefully position the anchor plants. These are the focal points that define the garden’s flow and balance.
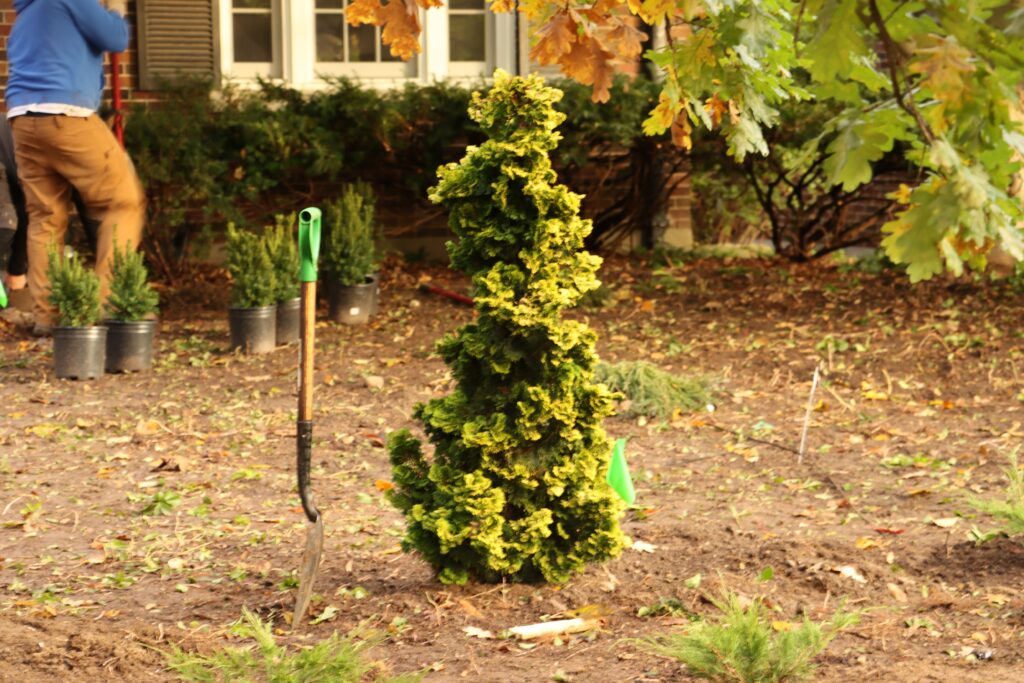
Why this matters: Anchor plants create the framework for the design, guiding where smaller woody plants and herbaceous perennials will go.
Step 2: Precision Meets Artistry
We measure, plan, and mark every location—but gardens are living art, and sometimes adjustments are needed. Even with the most detailed plans, we step back, assess, and make changes to ensure the final layout is aesthetically pleasing from every angle.
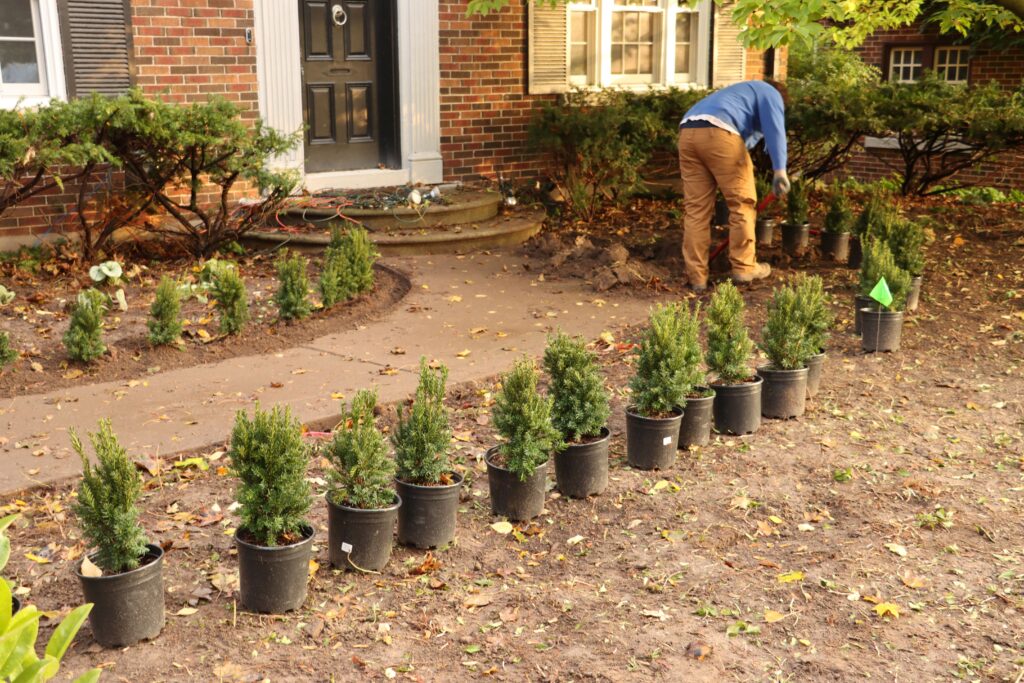
Step 3: Filling in the Layers
Once the anchor plants are securely in place, we begin adding the supporting cast: shrubs, ornamental grasses, and perennials that bring texture, color, and seasonal interest. This layered approach ensures your garden looks beautiful year-round.
Our Standards and Expertise
We follow planting guidelines based on the Canadian Landscape Standards, ensuring proper depth, spacing, and soil preparation for healthy growth. Combined with 50+ years of experience and training from the Niagara Parks Commission School of Horticulture, our team brings unmatched knowledge and craftsmanship to every project.

Why This Matters for You
- Healthy Plants: Correct planting techniques mean stronger roots and longer life.
- Beautiful Design: Adjustments ensure your garden looks natural and harmonious.
- Professional Care: Industry standards + decades of experience = peace of mind.
After Planting Care: Setting Your Garden Up for Success
Planting is only the beginning of a healthy, thriving garden. The steps we take immediately after installation are critical for long-term success. At Verdant Landscape and Design Inc., we follow a proven process to ensure your plants get the best possible start.
Step 1: Mulching with Natural Pine
We apply a layer of natural pine mulch around your new plantings. Mulch helps retain soil moisture, regulate temperature, and suppress weeds—all while adding a polished, finished look to your garden.
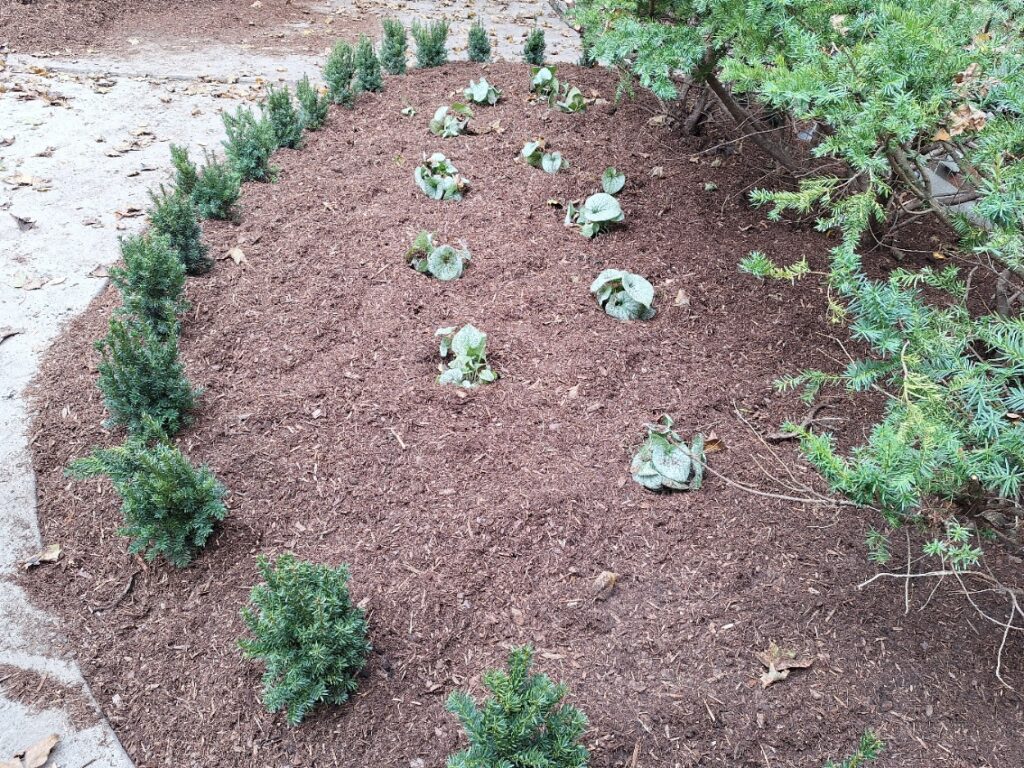
Why this matters: Mulching reduces stress on plants and promotes healthy root development.
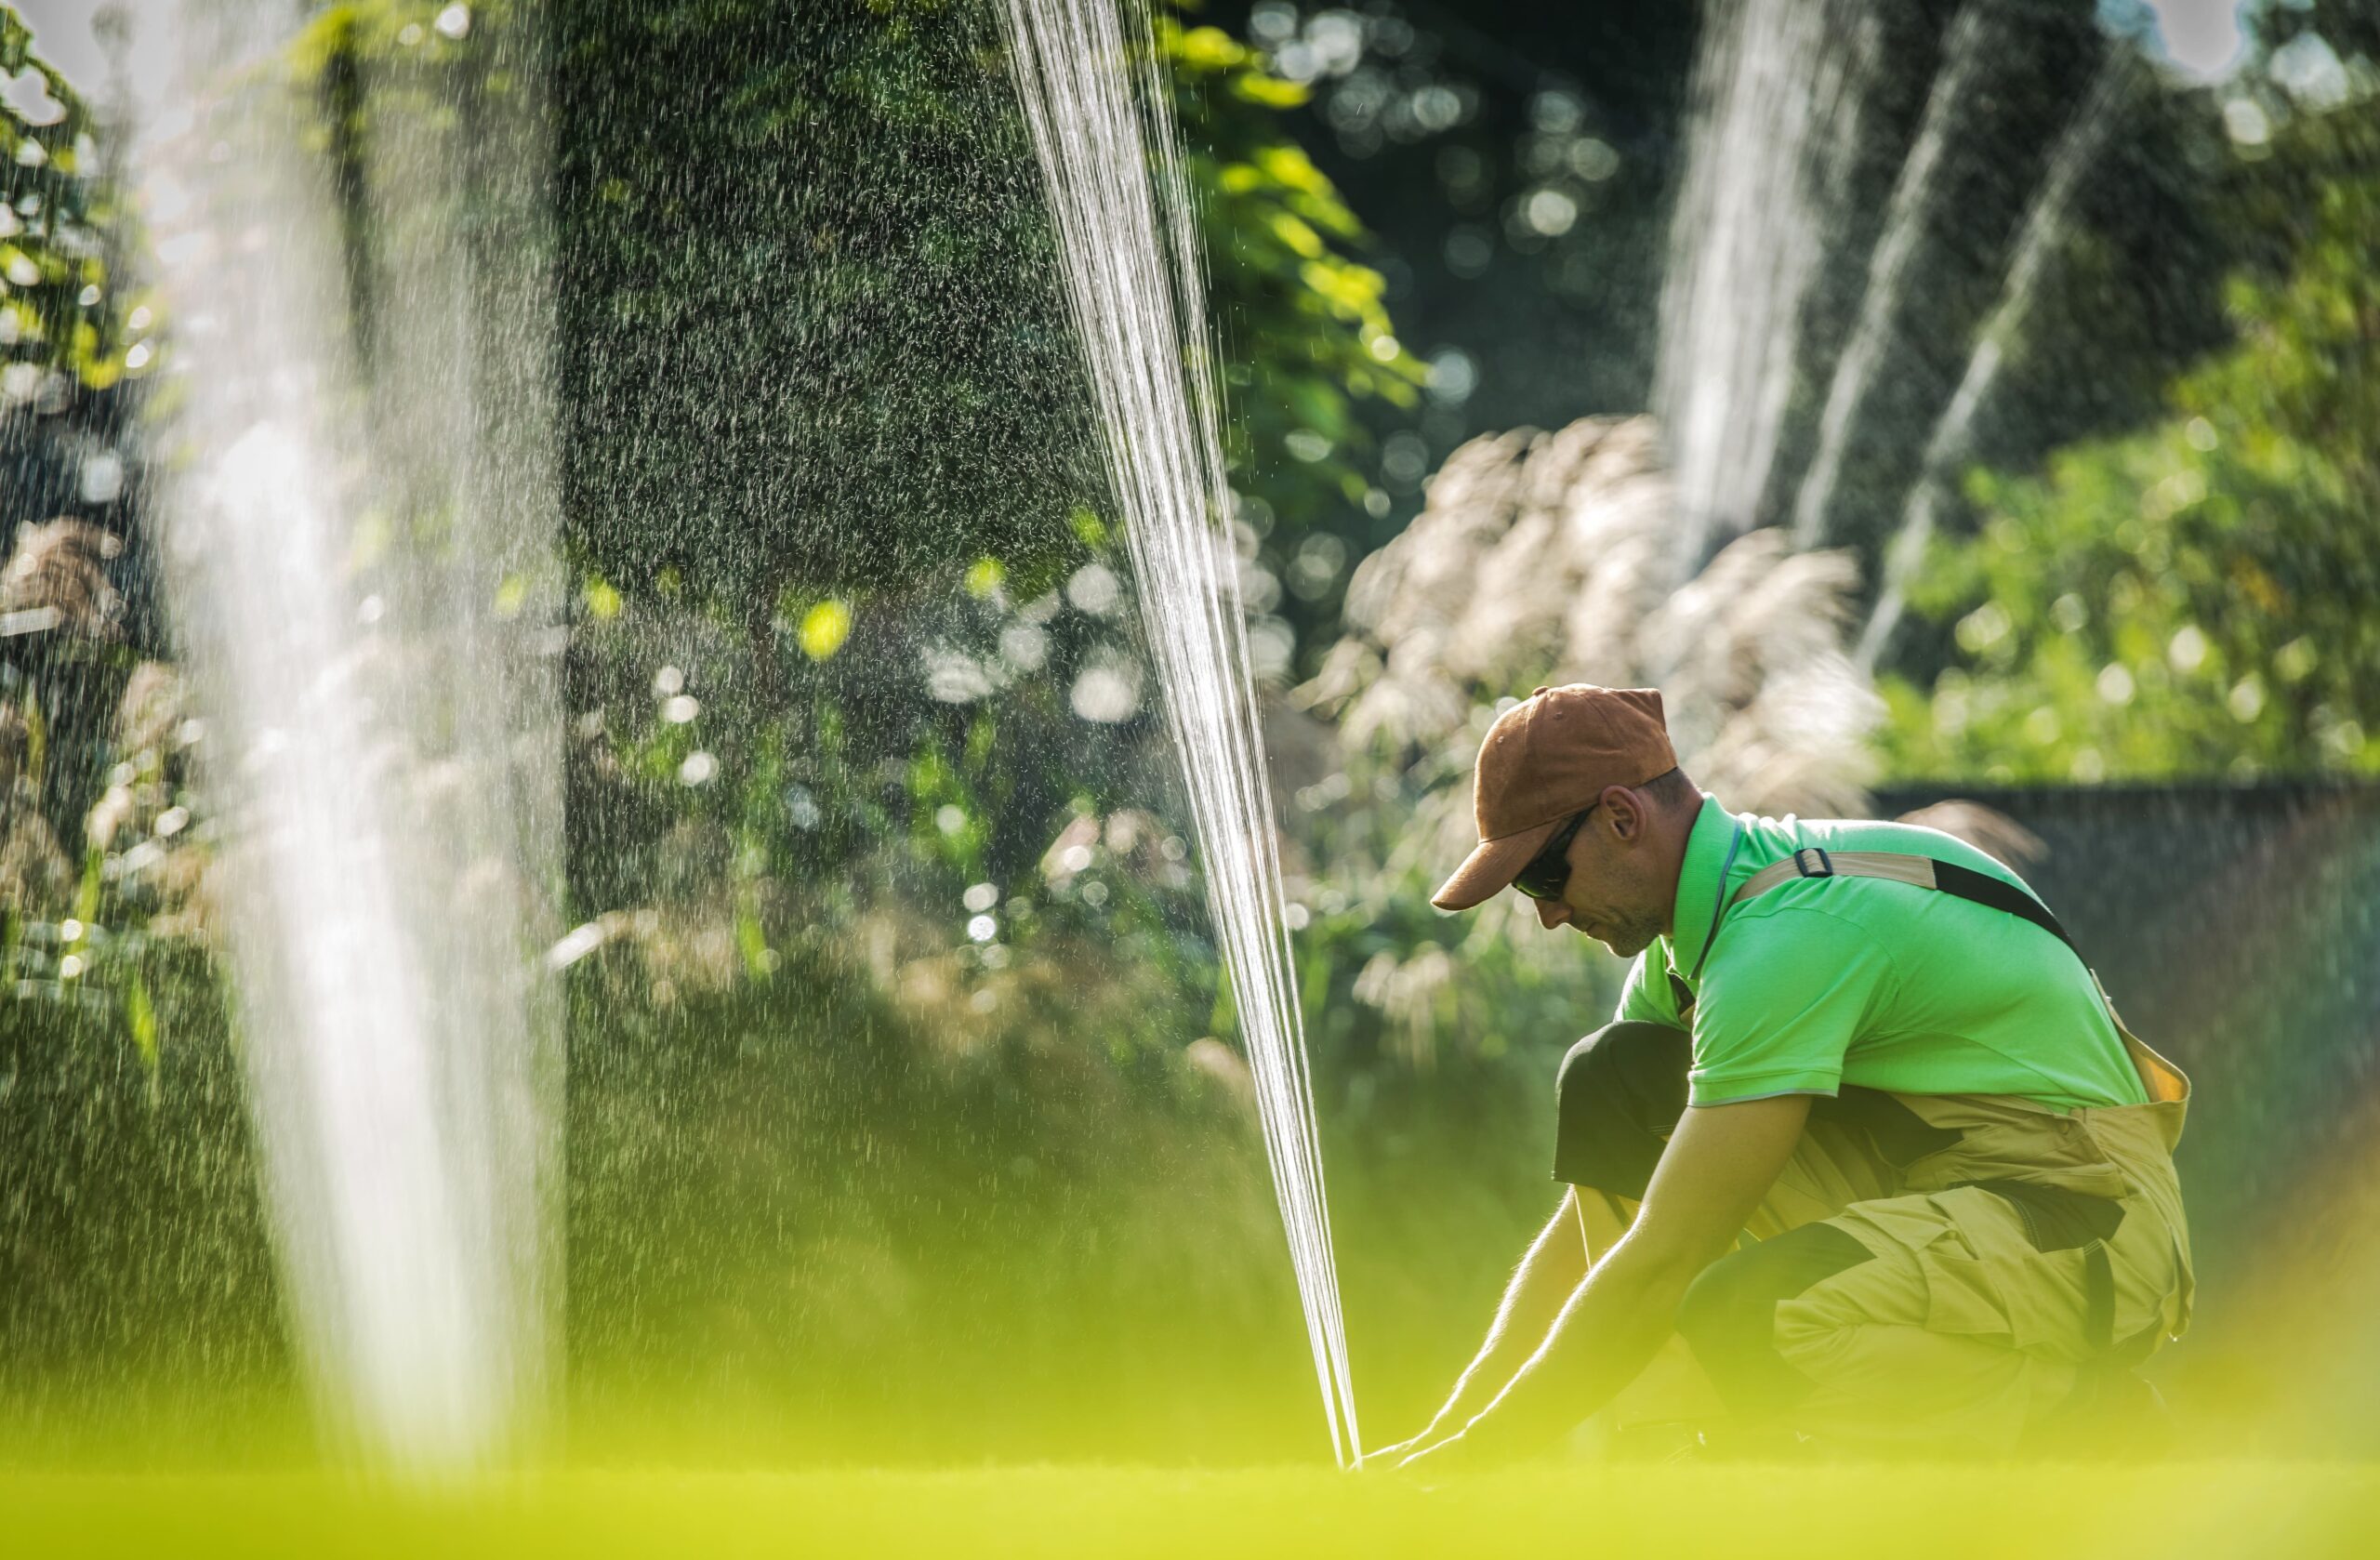
Step 2: Watering In
Every plant is thoroughly watered after installation. This helps settle the soil around the roots and eliminates air pockets, giving your plants the hydration they need to establish quickly.
Tip: Consistent watering in the first few weeks is key to long-term success.
Step 3: Boosting Root Health with Root Rescue
We use Root Rescue, a natural mycorrhizal inoculant that encourages strong root systems and improves nutrient uptake. This eco-friendly product helps plants adapt to their new environment and thrive for years to come.
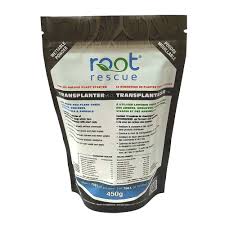
Why this matters: Healthy roots = healthy plants.
Step 4: Responsible Clean-Up
Once planting is complete, we clean up all debris and dispose of waste through approved disposal streams. This includes soil bags, plant containers, and organic waste—all handled responsibly to minimize environmental impact.
Why this matters: Sustainability is part of every project we do.
Why Our Aftercare Process Works
- Protects Your Investment: Proper care ensures plants establish successfully.
- Eco-Friendly Practices: From mulch to waste disposal, we prioritize sustainability.
- Professional Standards: Backed by decades of horticultural expertise.
A testimonial from this client, “We hired Verdant to do a complete landscaping of our large front yard, and are very happy that we did! They were patient and thorough with our initial conversations, ensuring we all had a solid mutual understanding of the scope of the project and our preferences. We worked through a couple of iterations of the design, tweaking it to something we’re very excited to see develop over the next few years. They completed the work quickly and professionally, despite some cold and rainy late fall weather. We would have no hesitations recommending Verdant to anyone in the future!”
Ready to Start Your Garden Transformation?
Book your free consultation today and let us help you create a garden that’s beautiful, healthy, and built to last.